Last updated: September 30, 2026
A strong visa application is not a thick file. It is a clear one. Every visa officer, in every country, is trying to answer the same three questions: is your purpose genuine, can you support yourself, and will you leave when the trip ends? Your documents are the only voice you get in most applications, so the work happens before you submit, in how you choose, gather, and present your evidence.
This guide walks you through preparing a strong application for any visa type (tourist, student, work, or family visit) to the United States, Canada, Australia, New Zealand, and the Schengen countries. It focuses on the preparation habits that separate approved files from refused ones.
Start by seeing the file the way an officer does
Officers review hundreds of applications. They do not read your story. They test it. A useful way to organize your preparation is to map every document to one of the questions below. Anything that does not help answer one of these four probably does not belong in the file.
| The officer’s question | What they examine | What a strong file shows |
|---|---|---|
| Who are you? | Identity documents, travel history | A valid passport, consistent personal details across every document, and past travel that ended with you going home on time |
| Is the purpose genuine? | Itinerary, bookings, invitations, cover letter | Specific dates and places, a purpose that matches the visa category, and plans that fit your means |
| Can you afford this trip? | Bank statements plus proof of income | Three to six months of stable statements, salary credits that match your payslips, and an explanation for any large deposit |
| Will you return home? | Employment, family, property, commitments | A job with approved leave dates, family remaining behind, property or financial commitments, and a return itinerary |
If you can glance at your file and see every cell of that table covered, you are most of the way there.
Step 1: Choose the correct visa category
The most common early mistake is applying for the wrong visa and hoping the evidence carries it. It does not. Categories are pass-or-fail tests with fixed criteria: a tourist visa cannot do a student’s job, a single-entry rule cannot be bent for a frequent traveler, and a business trip belongs on a business category, not a tourist one. Before anything else, write down the eligibility criteria from the official government site and check yourself against each one. If you cannot satisfy one, stop and fix that before you gather a single document.
Step 2: Read the official checklist, then read it again
Every country publishes an official document checklist for each visa type. This is the single most valuable page in your preparation, and the one applicants skip most often.
- United States: the State Department’s visitor visa page lists what the interview requires: a completed DS-160 online form, the $185 visa fee, and an appointment through the embassy or consulate portal. Supporting documents go on top of that base, not instead of it.
- Schengen: the EU Visa Code (Article 14) defines the supporting documents every consulate works from: proof of travel purpose, accommodation, means of subsistence, and information showing you intend to leave before the visa expires. The full text is on EUR-Lex. Each country also publishes harmonised checklists for its consulates; use the one for the country where you will spend the most time.
- Canada: IRCC’s visitor visa page is the starting point, and the official fee list confirms the current charges: a visitor visa is CAD 100 per person plus CAD 85 for biometrics where required. Fees change, so check on the day you apply.
- Australia and New Zealand: applications run through ImmiAccount (Australia) and Immigration New Zealand’s online system. Both publish document guides for each visa stream. Australia also runs a visa pricing estimator so you can confirm the current application charge. Check the official website for the current figure before you budget.
Download the checklist, print it, and work through it line by line. Third-party summaries go stale. The official page is the only version that counts.
Step 3: Build your evidence file around five pillars
Once the category is confirmed, gather evidence in five groups. A file organized this way is easy for an officer to read, and easy for you to audit.
Identity and travel history. A passport valid well beyond your trip (Schengen requires validity of at least three months past your planned departure, with two blank pages), previous passports with old visas and stamps, and national ID where the checklist asks for it. Past travel to countries with strict visa rules that ended on time is one of the strongest quiet signals in any file.
Purpose of travel. Whatever the visa type, the officer must be able to picture the trip. For tourists: a day-by-day itinerary, accommodation bookings, and flight reservations, not purchased tickets. For students: the admission letter and a clear study plan. For business: an invitation from the host company and an agenda matching your role. For family visits: an invitation letter with the host’s status and address.
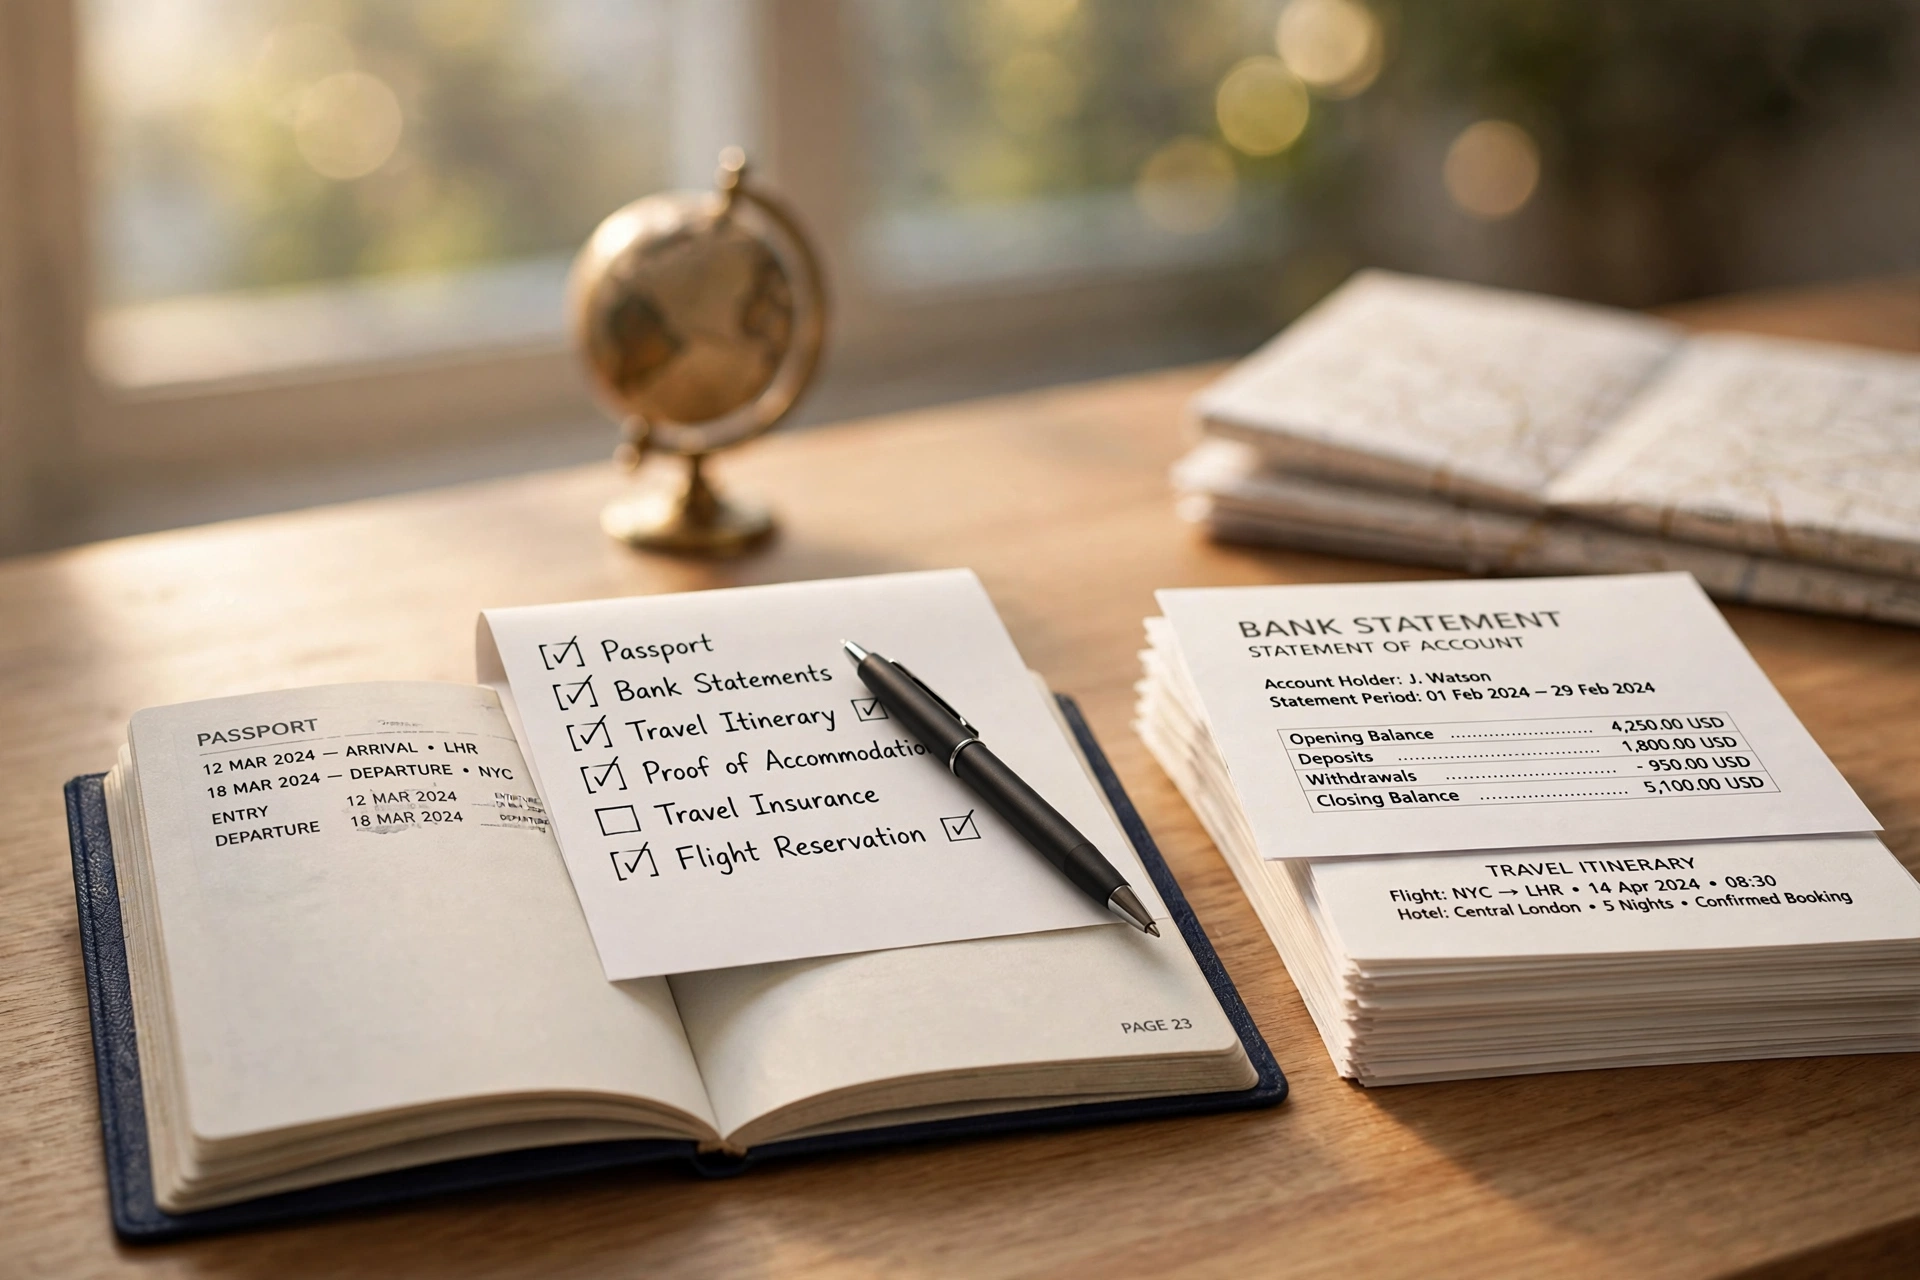
Financial proof. Three to six months of bank statements are the standard almost everywhere. On their own they prove a balance. Paired with income documents, they prove the balance is real. This pairing is the subject of step 4.
Ties to home. An employment letter on company letterhead stating your position, salary, and approved leave dates. If you are self-employed, use business registration documents. Add property papers and evidence of family remaining at home. Canada’s guidance specifically flags employer letters that omit job duties, salary, or hours as a weak point. The details matter.
Supporting requirements. Travel medical insurance with at least €30,000 of coverage for Schengen (it must cover the entire stay and all 29 states). You will also need police certificates for every country where you have lived for six months or more since age 18, a requirement in both Canada and Australia, plus certified translations of anything not in the country’s official language and a passport-size photo meeting the exact specs.
Step 4: Make your finances tell a coherent story
This is where strong applications separate from weak ones. A large bank balance impresses no one by itself. Officers read statements the way accountants do: they want to see where the money comes from, whether it arrives regularly, and whether it matches your stated income.
The pattern that works: salary credits landing monthly and matching your payslips, steady balances over several months, and every large deposit explained in writing: a property sale with the sale deed, a documented gift, a bonus with the employer’s letter. The pattern that fails: a sudden large deposit days before the application with no paper trail. That reads as borrowed money parked temporarily, and it invites exactly the questions you do not want. One recent guide to visitor visa approvals puts it bluntly: a bank statement alone is sometimes not enough; what convinces is the connection between your statement, your employment, your business records, and your tax history.
If you are self-employed, build the trail with business registration documents, business bank statements, and tax returns. If a sponsor is funding the trip, include the sponsor’s employment and tax evidence plus a signed sponsorship letter, since the officer is assessing the sponsor’s finances, not just yours. And whatever you do, keep your spending pattern normal: six months of genuine history beats one month of staged deposits.
Step 5: Write the cover letter and itinerary that connect the dots
The cover letter is your one chance to narrate the file. It does not need to be long. One page is usually right. It needs to say, in your own words: who you are, what you do, where you are going, when, why now, what it costs, how you are paying, and why you will return. Then point at the evidence: “My employment and approved leave are in Exhibit 3. My bank statements are in Exhibit 4.”
Match the itinerary to the visa you requested. Asking for 90 days for a five-day trip is a classic red flag. Be realistic about the length of stay. Keep the requested dates, the insurance coverage, the bookings, and the leave letter consistent with each other. Officers notice when the cover letter says one thing and the documents say another.
Do not buy non-refundable tickets before approval. Consulates ask for reservations and itineraries, not purchased fares, and a paid ticket buys you nothing in the decision.
Step 6: Prepare for the interview or appointment
Not every visa needs an interview, but where one exists it decides the case in minutes. US visitor visa interviews typically run three to five minutes and turn on three things: whether your answers match the DS-160, whether you can fund the trip, and whether the officer believes you will return. Preparation means knowing your own file cold: your job title, salary, itinerary dates, who is paying. Then every answer comes out short, specific, and consistent with the documents.
A few interview-day habits. Answer only what is asked, in a few sentences. Bring originals of every supporting document, organized so you can hand over anything requested in seconds. Never volunteer plans that suggest work or immigration intent. For Schengen and Canada appointments at visa centers, the day is mostly biometrics and document submission, so arrive with both originals and copies, and double-check the photo specifications, since a rejected photo can mean a second appointment.
Step 7: Run the final consistency check
Do this the evening before you submit, with the checklist in one hand and the file in the other. Answer each question honestly:
- Does my name, date of birth, and passport number read identically on every document?
- Do the travel dates match across the form, the cover letter, the itinerary, the insurance policy, and the leave letter?
- Do my salary credits match my payslips, and is every large deposit explained?
- Does the purpose of travel match the visa category I applied for?
- Have I declared every previous refusal in every country, truthfully?
- Are all documents clear scans or legible copies, translated and certified where required?
- Did I use the current official form, downloaded from the official site, with every field completed and signed?
- Am I applying early enough that a request for extra documents will not wreck my travel plans?
Schengen applications can be lodged no earlier than six months before travel and should reach the consulate at least 15 days before departure. Canada and Australia processing times swing with volume, so check the official processing-time tools and leave a buffer of several weeks. Applying early is free insurance.
Mistakes that quietly weaken applications
Most weak files fail in familiar ways. Submitting documents that contradict each other, like a salary on the form that does not match the bank statement. Leaving gaps in employment or education history unexplained. Copying a template cover letter that says nothing about your actual circumstances. Relying on an agent’s file without reading it yourself. You are responsible for every page in it, and officers treat “my agent did it” as no defense at all. And hiding a past refusal, which turns a recoverable history into a finding of dishonesty.
None of these require money to fix. They require time, honesty, and a second read-through. The applicants who get visas are rarely the richest ones; they are the ones whose files make the officer’s job easy.
Frequently asked questions
How early should I start preparing my visa application?
Start two to three months before you plan to travel. That gives you time to gather six months of statements, get translations and police certificates, book an appointment (slots fill up in peak season), and survive a request for additional documents. For Schengen, remember the window: no earlier than six months before travel, and at least 15 days before departure.
Should I buy my flight tickets before the visa is approved?
No. Consulates ask for flight reservations and itineraries, not purchased tickets, and several official guides explicitly warn against non-refundable bookings before a decision. Use a hold or reservation service for the application, and buy the ticket after approval.
Do I need an immigration agent to prepare a strong application?
Not necessarily. A careful applicant following the official checklist can prepare a strong file alone. Many guides are written for exactly that. An agent or consultant can help with complex cases, but no agent can influence the decision, and you remain responsible for every document in your file. Anyone promising you approval before you apply is selling something the government does not offer.
Will a previous visa refusal hurt my new application?
Only if you hide it or repeat it. Declare every refusal truthfully. The forms ask about refusals in all countries, not just this one, so use the refusal letter to understand what failed. A new application that fixes the original weakness (better financial evidence, clearer purpose, stronger ties) is exactly what the system is built to reward.
Is a large bank balance enough to prove I can afford the trip?
No, and this is the misunderstanding behind a large share of refusals. Officers assess the source and stability of your funds, not just the balance: regular income matching your employment, several months of consistent history, and explanations for large deposits. A modest but genuine financial trail beats a large unexplained balance every time.
What to read next
For country-specific detail, see our Schengen Tourist Visa complete application guide and our US B1/B2 visitor visa application guide, which covers interview preparation in depth. If you are a student, the Canada student visa guide walks through study-specific documentation. Prepare early, keep every document consistent, and let the file speak clearly. That is what a strong application looks like.